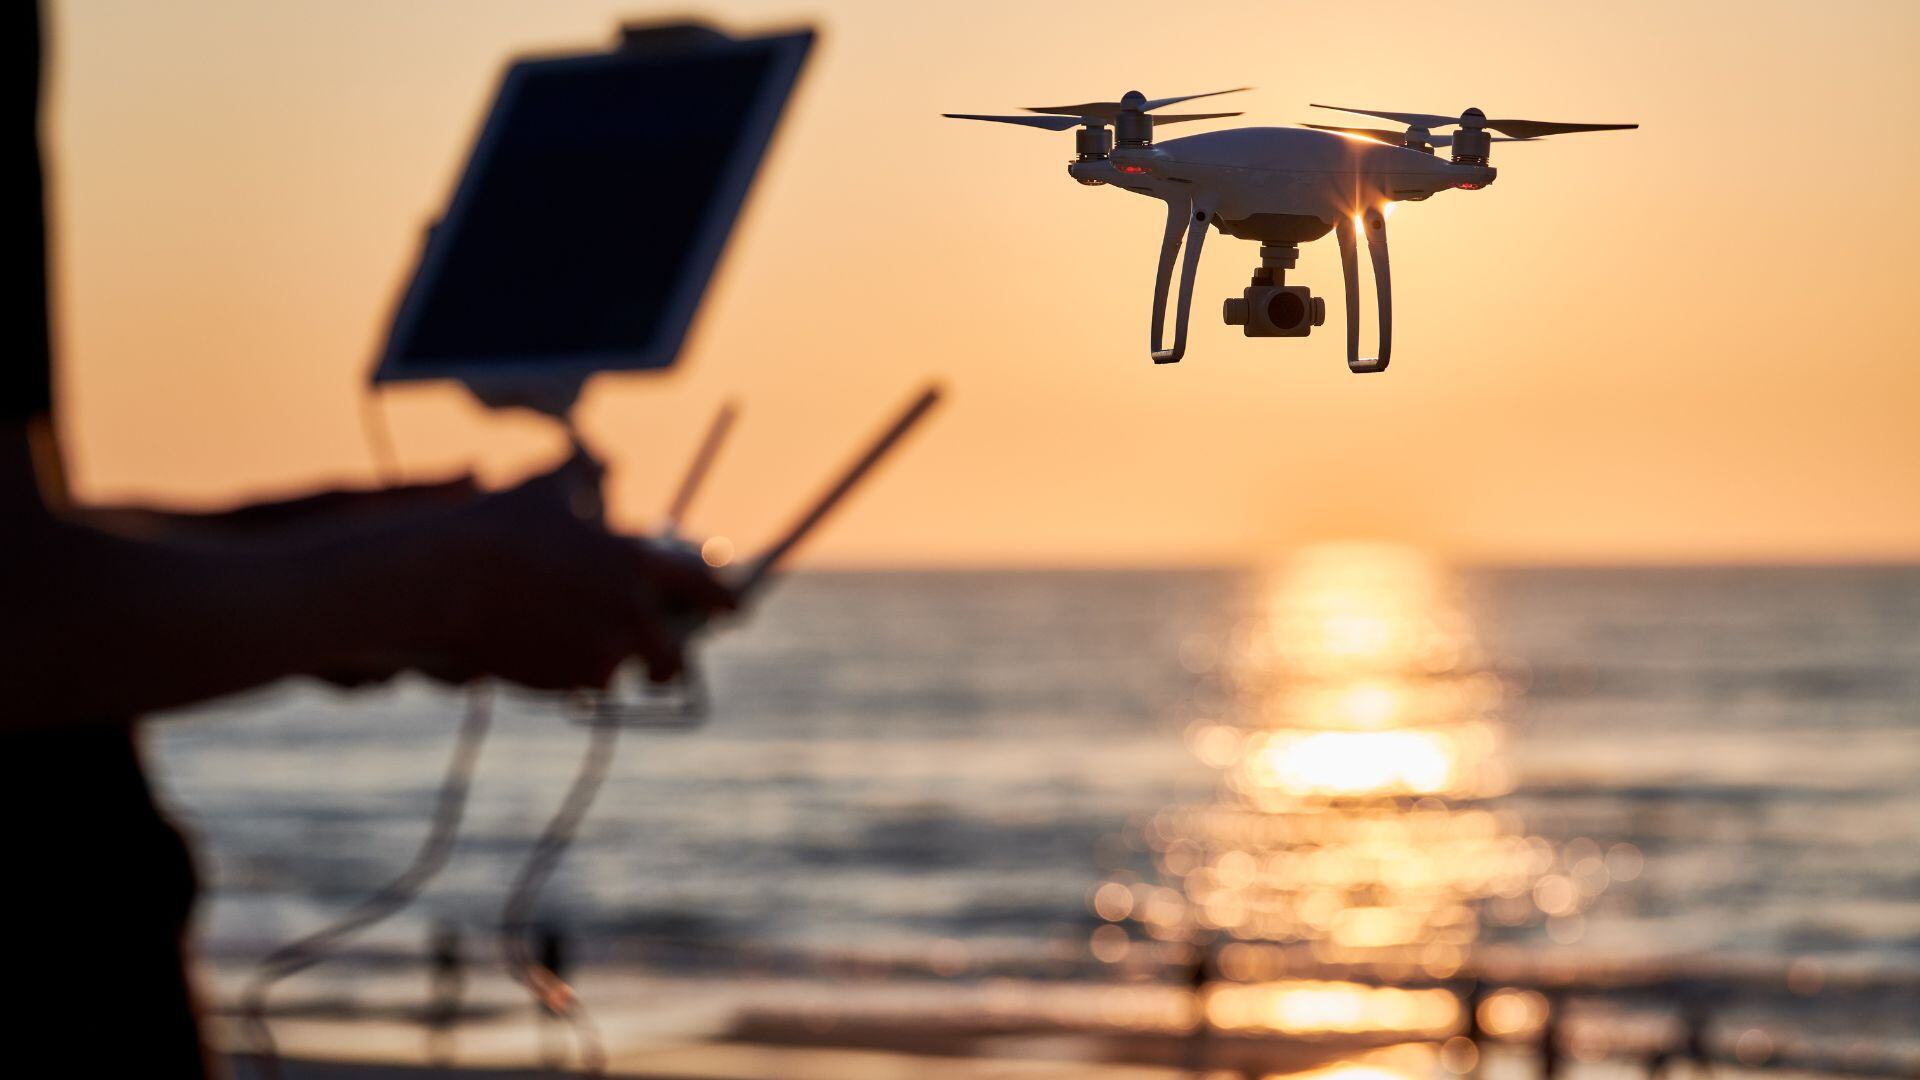
Drone footage is fascinating. With one single clip, it can elevate your videos from ordinary to cinematic, making them stand out for either personal projects or professional work. Here's a simple workflow method that can take your drone footage to the next level using Adobe Premiere Pro.
1. Import footage
I film with my DJI Mini 3 Pro which is great because you can easily import footage with the DJI Fly App. Otherwise you can transfer the footage straight into an SDD card (I use the SanDisk Extreme Portable SSD card) through a laptop. Here are the simple steps on how to do it:
- Power off your drone and remove the SD card
- Insert the SD card into an SD card reader. Most laptops have built-in card readers. If yours doesn't, use an external USB card reader.
- Open your computer’s file explorer (Windows) or Finder (Mac) to locate the SD card for the footage.
- Select and copy the footage files from the SD card to a designated folder on your computer to access.
2. Rough cut
Once you have your footage on your computer, you can start with your project in Adobe Premiere Pro. Once you have all the footage in one bin I tend to change the view to icons so you can scroll and see each footage and what it contains. Trust me, this will save time from scrolling your source file and going through every clip. I would start placing the footage on the timeline aligning your vision for the final video. Don't worry if your clips are too long. This is only the rough cut!

Icon view helps to speed up putting together the rough cut
3. Choose music and sound effects
I prefer to have music before adding my special effects. This helps me to fine-tune and make sure every effect is hitting the beat.
The hardest part is choosing the track. Once you have chosen your track, importing this to your timeline is easy. Once you have the track in our audio timeline, I prefer to enlarge this one to see the beat of the music. Since drone videos are usually scenic videos that don't involve any voiceovers, you can keep the decibel levels of the music pretty high. This is why you want to make sure every beat in the audio fits in well with the footage. By enlarging the audio track you can see the beat of the music and this will help you to make the final cuts and transitions to make your video rise to the next level!
If your track is too short, there is a very useful feature called Remix in Essential Sound panel in Premiere Pro:
- Choose your Audio Track -> Essential Sound -> Music -> Duration -> Extend or Remix
OR
- Choose your Audio Track -> Choose you Ripple tool -> Remix -> Drag the audio track to match your footage
4. Add special effects
The Warp Stabilizer effect in Adobe Premiere Pro comes in handy when you want to achieve that cinematic smooth look. To apply it, select your clip in the timeline and navigate to Effects. Search for "Warp Stabilizer" and drag it onto your clip. The effect will analyze the footage and automatically apply stabilization. Depending on how the result looks, you can always add "Detailed Analysis" if needed.
TIP: Shoot at higher frame rates (60fps or higher) to capture smoother motion and allow for better stabilization in post-production.
Speed ramping and motion blur
Speed ramping and motion blur are also great tools when editing drone footage in Premiere Pro, as they boost your visual storytelling and add cinematic quality to your video. Speed ramping allows you to change the speed of your footage, creating smooth transitions between different speeds. This technique can emphasize dramatic moments, highlight key actions, or create a sense of motion that keeps viewers engaged. When you combine with motion blur with it, the footage appears more visually appealing. Motion blur softens the transitions during speed changes, making them more seamless than before.
4. Improve color
I fly with DJI drones and often when capturing stunning aerial views, the raw footage can sometimes look flat due to lighting conditions or camera settings. You can easily adjust the color balance, contrast, and saturation, to bring out the dynamic range of your shots to enhance the footage. Especially, enhancing the blues and greens can make landscape shots look better, while adjusting the warm tones, you can enhance your sunsets. Also, color helps to blend different footage together despite being shot at different times.
The first adjustment layer helps you to add a LUT to your footage. This gives you the correct color conversion to start your edit. The second adjustment layer is for your color correction. The video below explains well how to get you started with Lumetri scopes explaining the values for whites and blacks and the overall temperature of the image using Parade. For the third and final adjustment layer, you add your color grading on.
5. Export
For basic exporting setting, I would recommend the following:
- Format: Choose H.264 for the format to maintain good quality with manageable file sizes. For higher quality and professional use, you might consider ProRes or H.265.
- Resolution: Select a preset that matches the resolution your platform prefers, such as “YouTube 4K” or “High-Quality 1080p HD” for Instagram or general use.
- Frame Rate: Match the frame rate to your source footage, typically 24, 30, or 60fps.
In conclusion, mastering the art of editing drone footage in Premiere Pro involves a set of different editing techniques to take your standard panning drone shot to another level. If you have another great tutorial for mastering drone footage, please share below.


Comments